
Tutorial · Intermediate
Balloon avocado using distortion technique
Build a balloon avocado with distortion technique, step by step and with the products we use in the workshop.
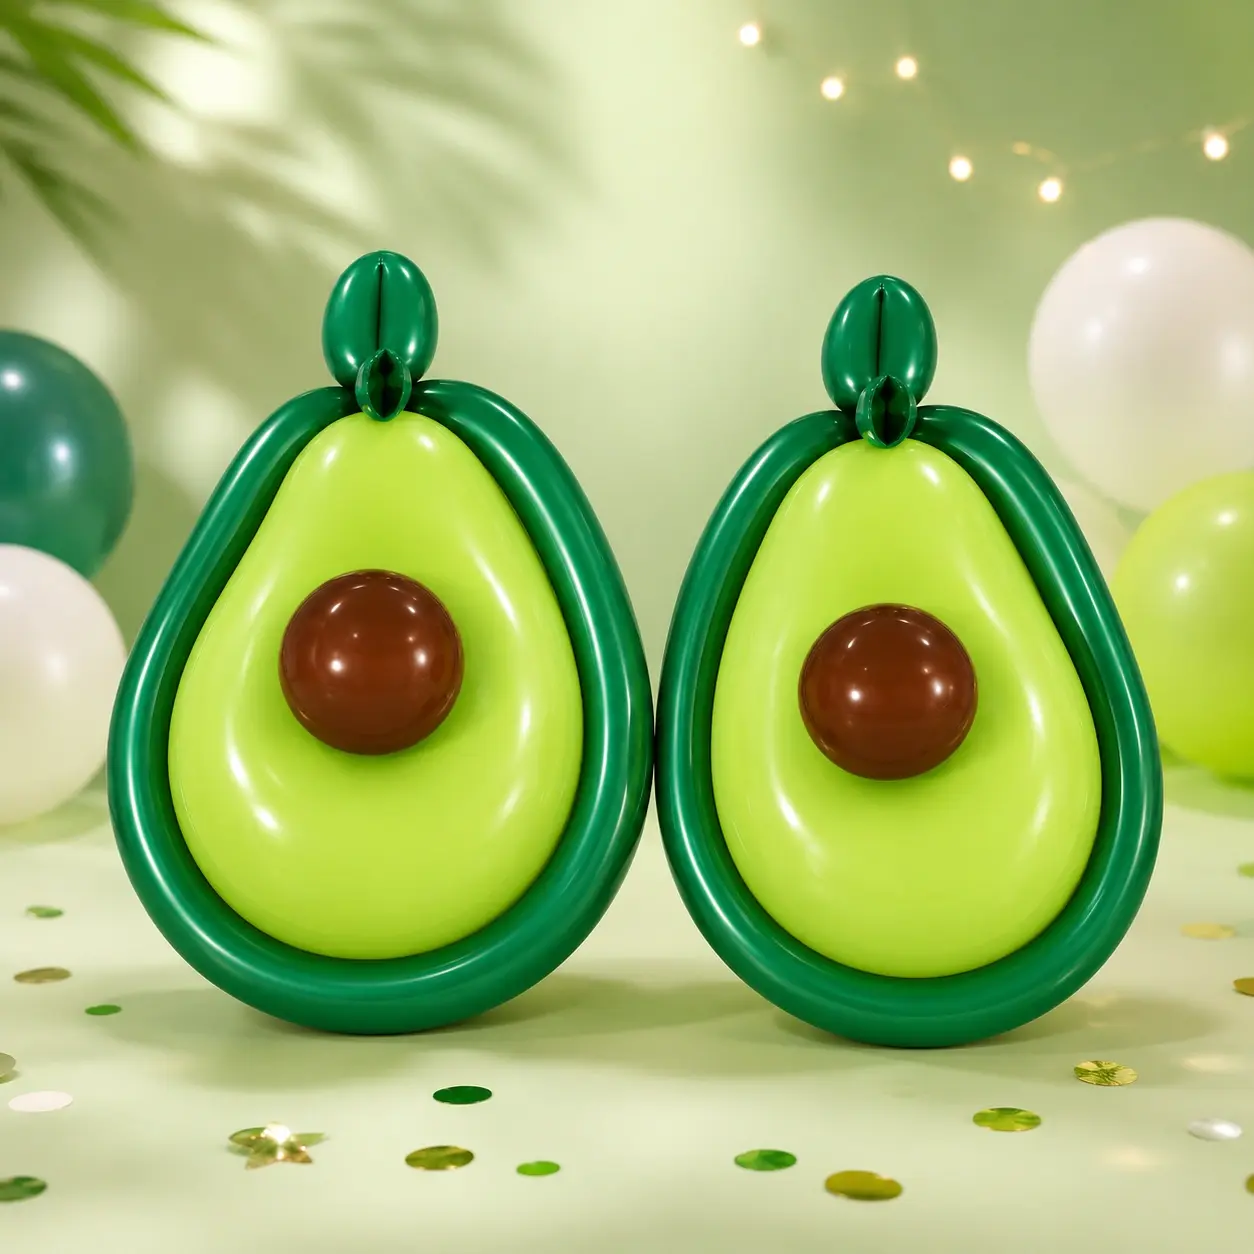
What are we making?
An avocado figure with volume, an integrated pit and a clean outline. Distortion turns the balloon's round shape into a more organic silhouette.
The technique in three moves
Round balloon
Distort
Avocado shape
- Level
- Intermediate
- Estimated time
- 15–20 min
- Technique
- Distortion

The avocado step by step
Watch the complete assembly before following each step with your balloons.
- Step-by-step video
- Materials included
- Professional tips
Before you begin
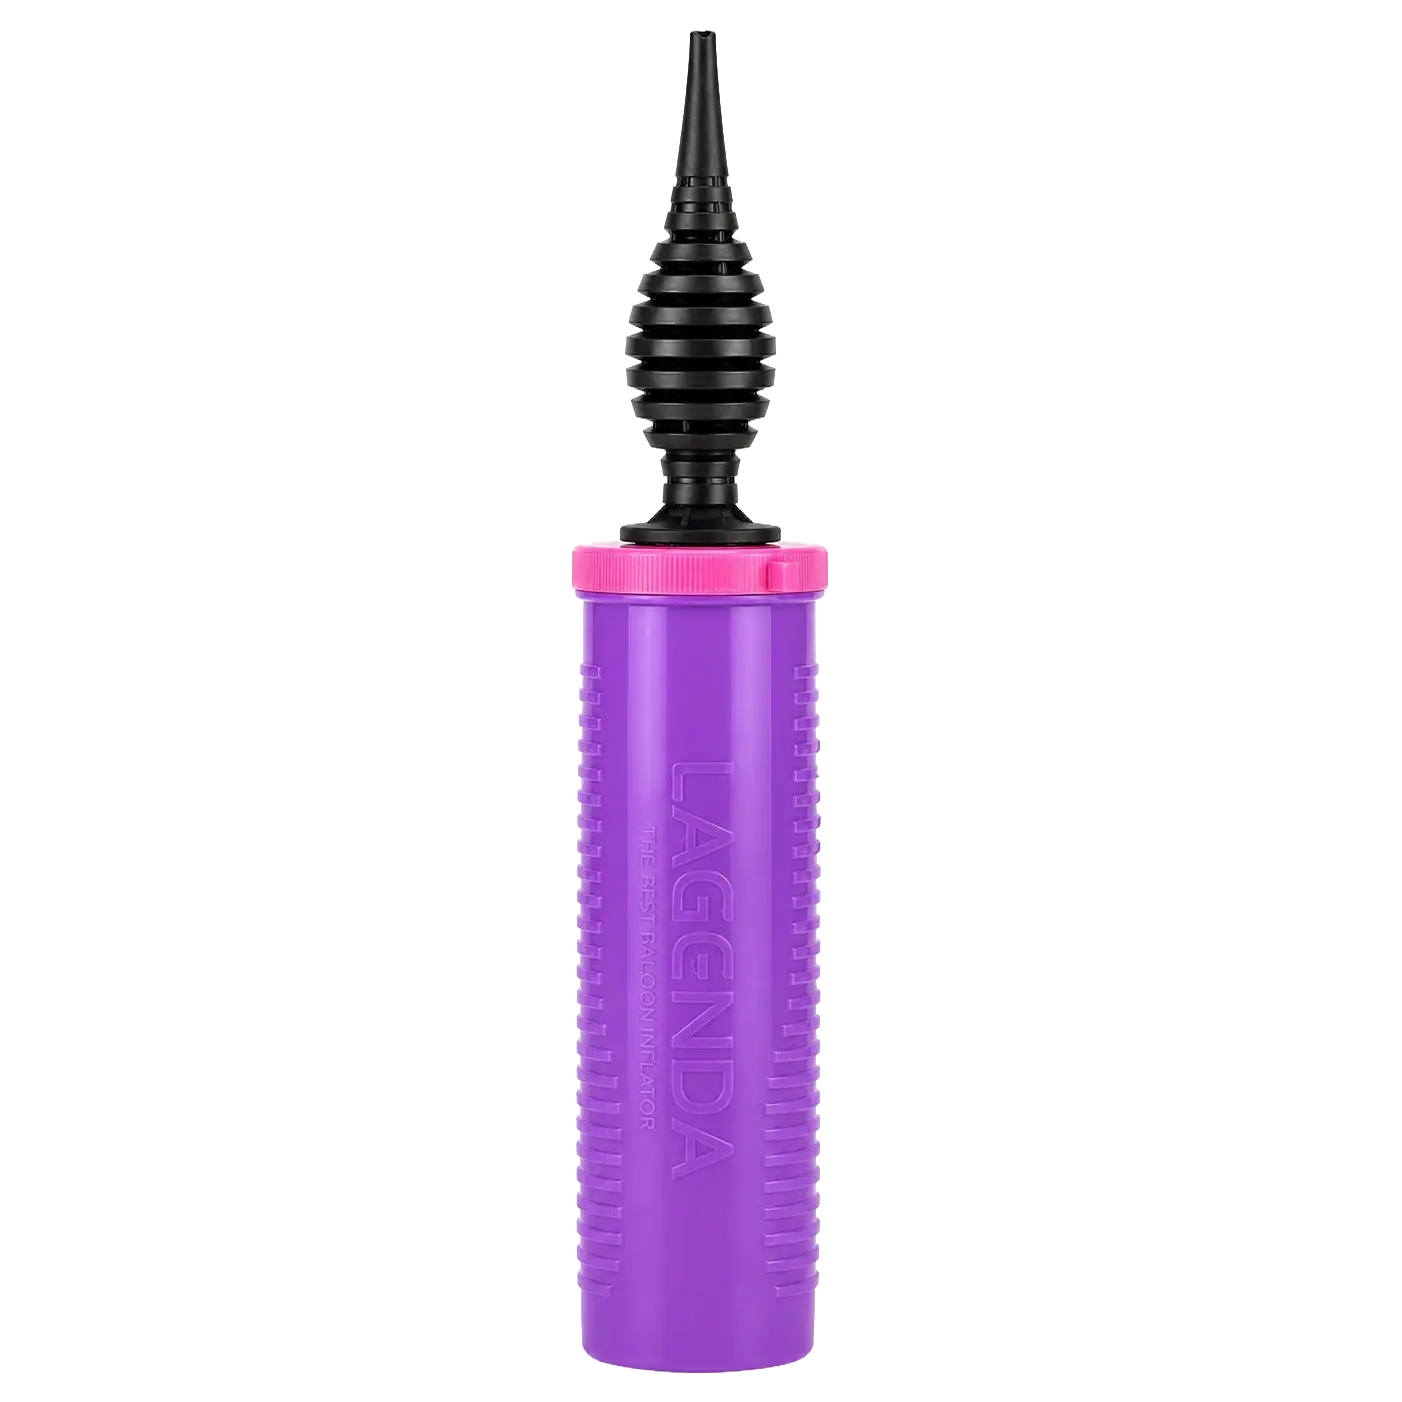
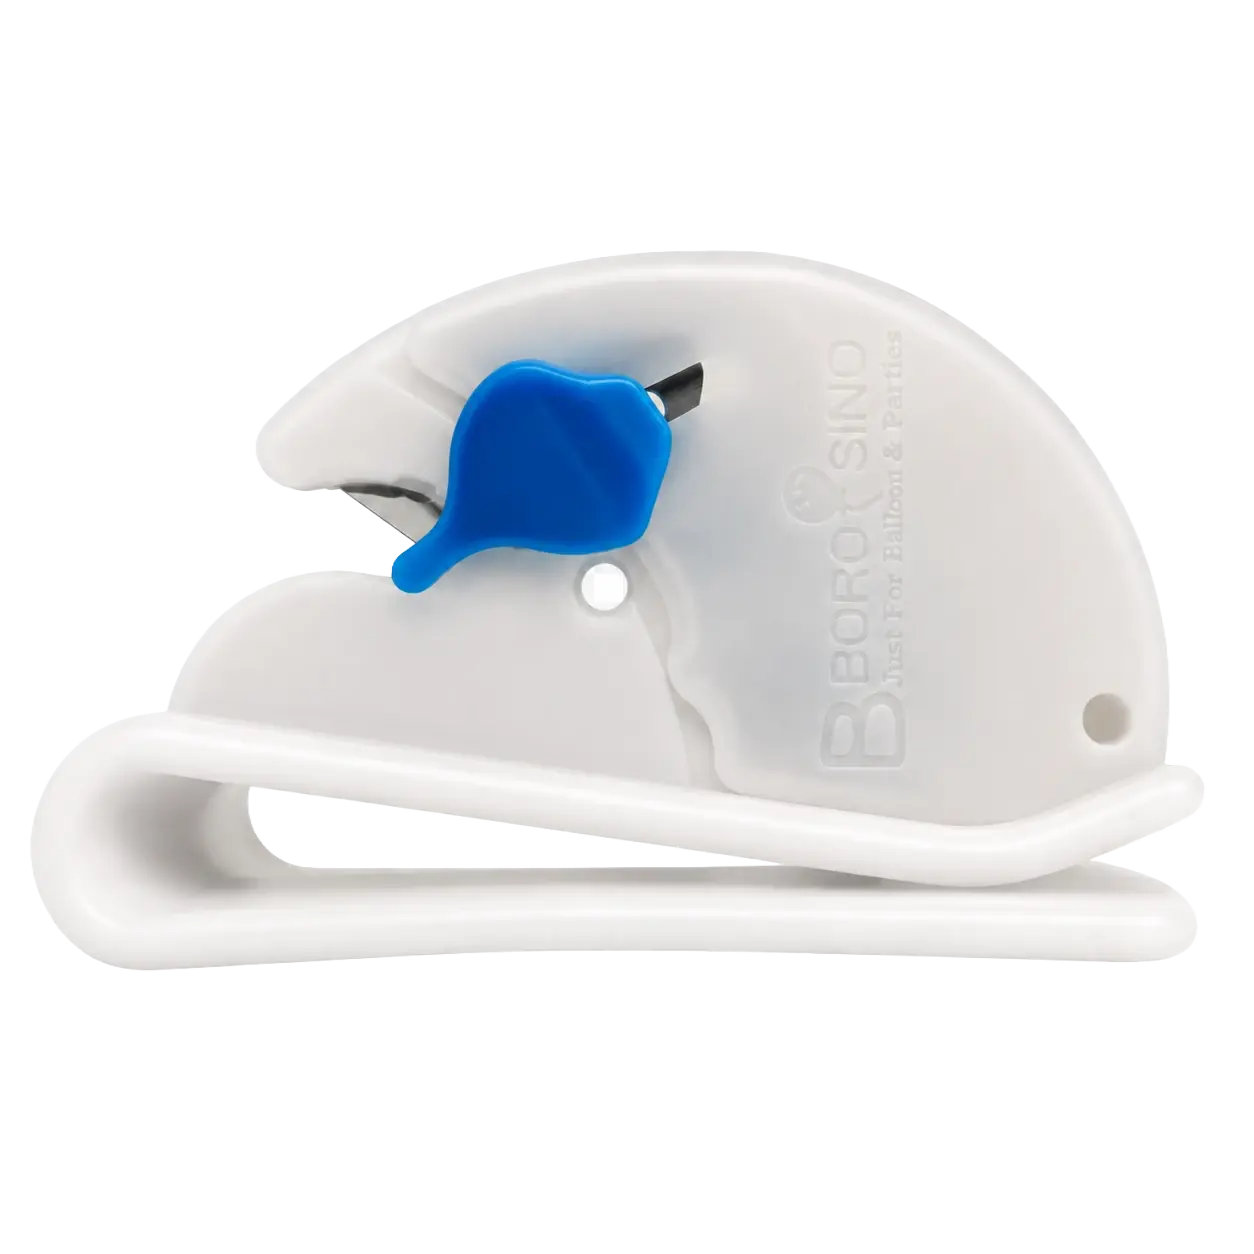
Materials
Prepare everything on the table so you can work without pauses and preserve balloon tension.





Let's get to work
Step by step
- Preparation
- Construction
- Finishing
Phase 1
Preparation
Create the structure that will shape the body.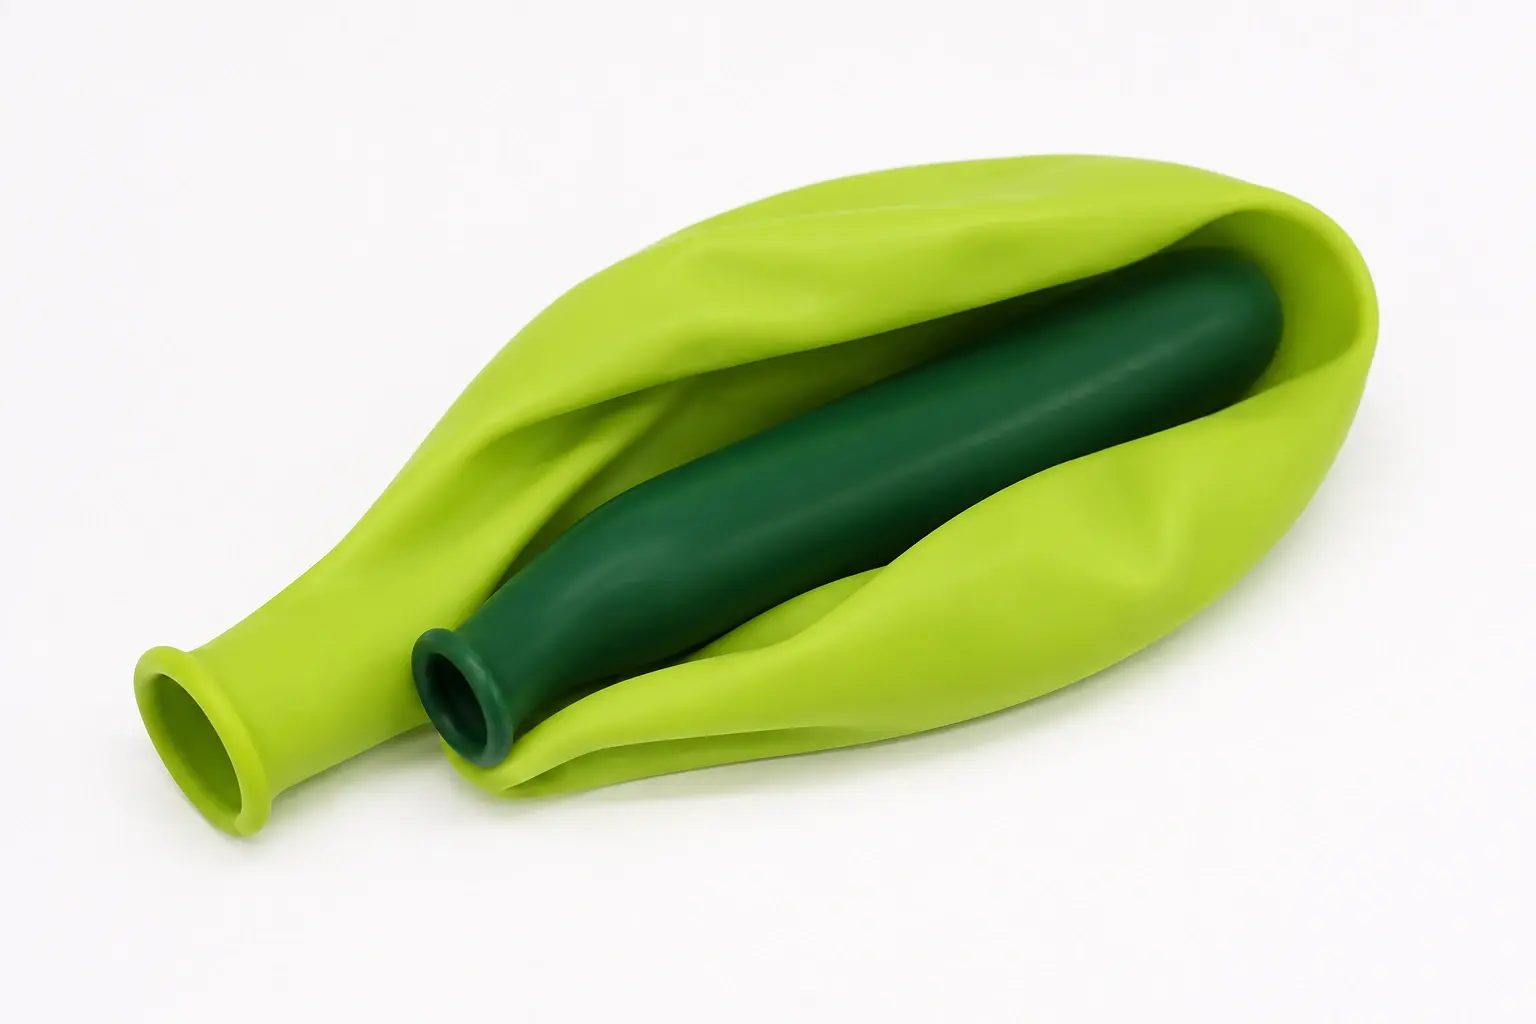
Insert the inner balloon
Place a green 260 inside the 12-inch lime green balloon and leave its nozzle accessible.Inflate the structure
Inflate the outer balloon first, then the inner 260 until there is enough tension to shape it.Define the silhouette
Release air gradually and shape the body by hand: wider at the bottom and narrower at the top.
Phase 2
Construction
Integrate the pit and build the outer outline.
Prepare the pit
Inflate the brown balloon to about three inches and tie it next to the green body's nozzle.
Make the apple twist
Push the joint into the body, hold it from the opposite side and twist until secure.
Create the top connector
Twist a small portion at the top; it will anchor the second 260 balloon.
Wrap the body
Attach the second 260 to the connector and guide it around the avocado, following the silhouette.
Phase 3
Finishing
Secure the details and unify the surface.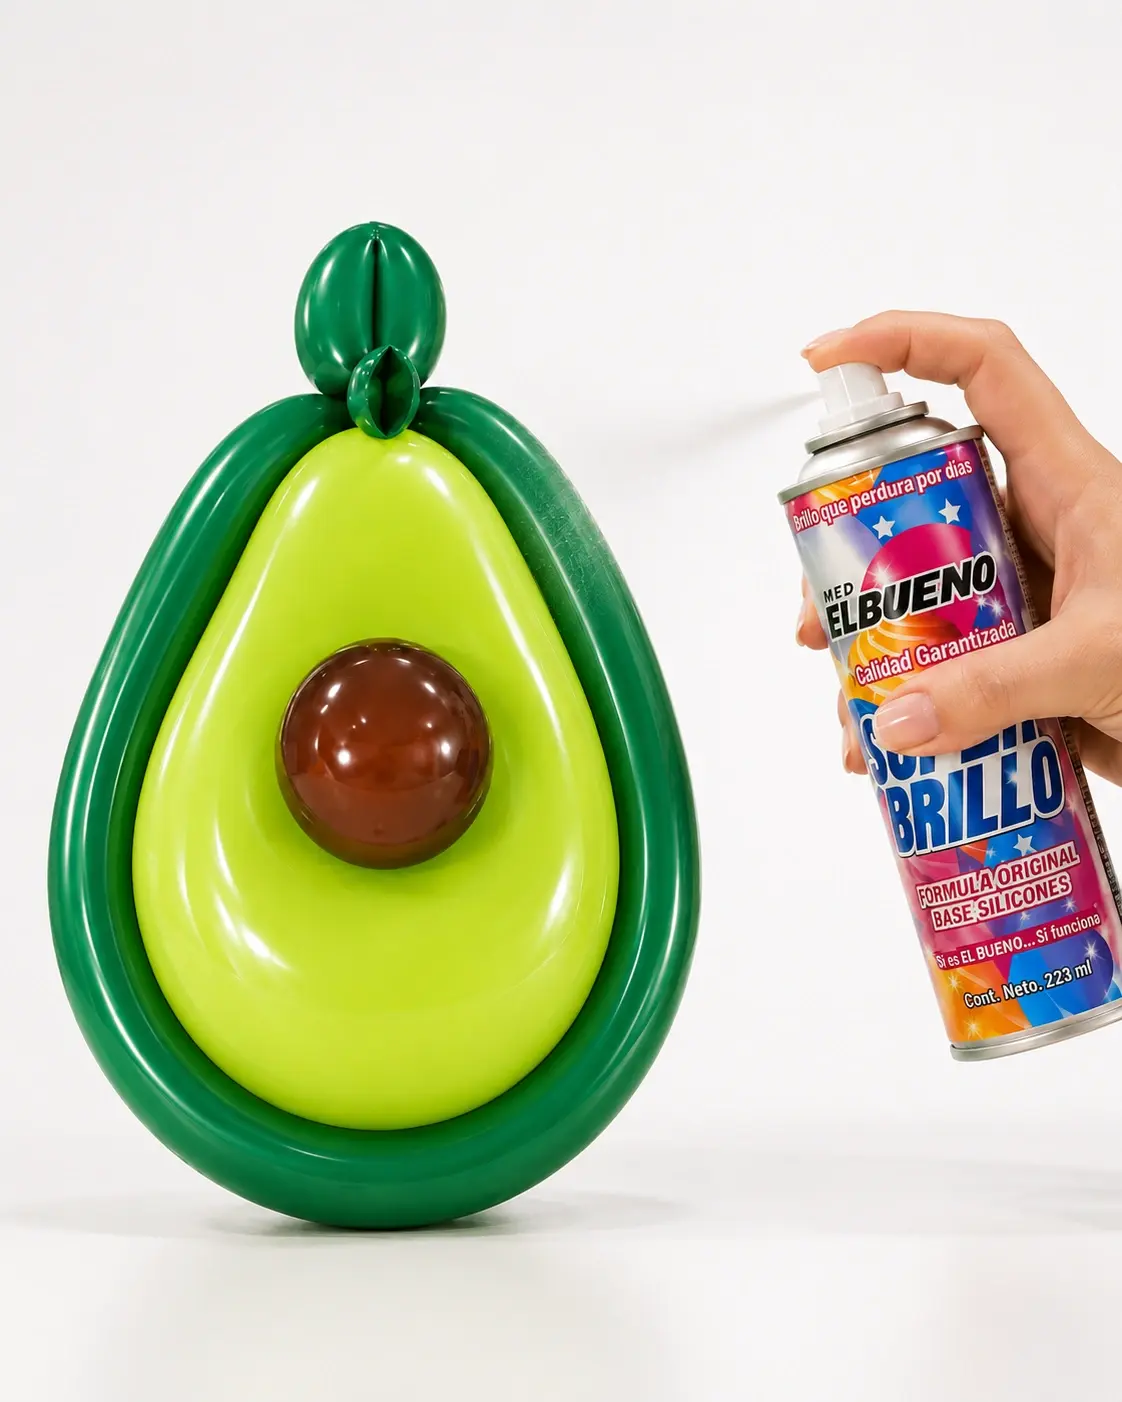
Secure the outline
Apply adhesive only where the edge may move, then adjust the final shape.Add the final touch
Check the pit and top detail; finish with Super Brillo to restore the balloons' sheen.
Done!
Your avocado is ready
A piece with volume, a defined outline and an integrated pit, ready for tropical arrangements.